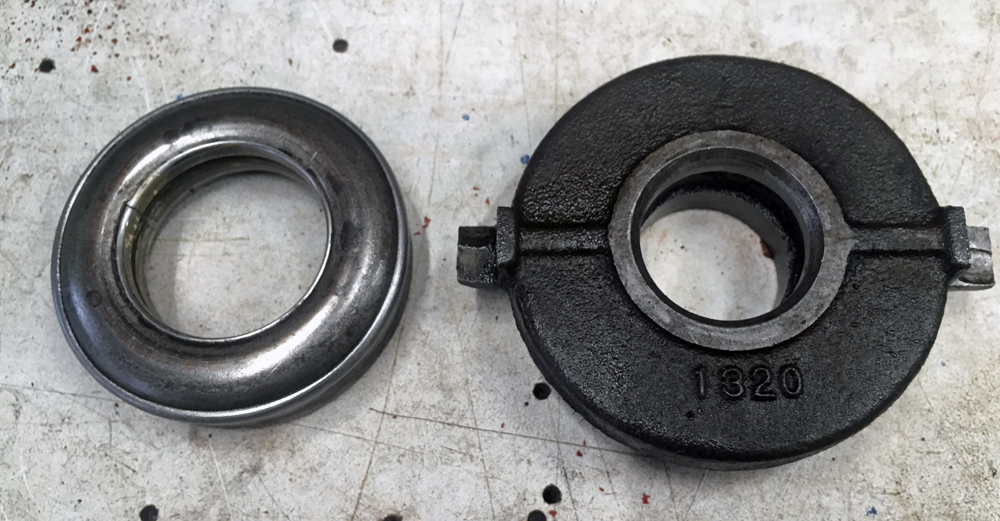
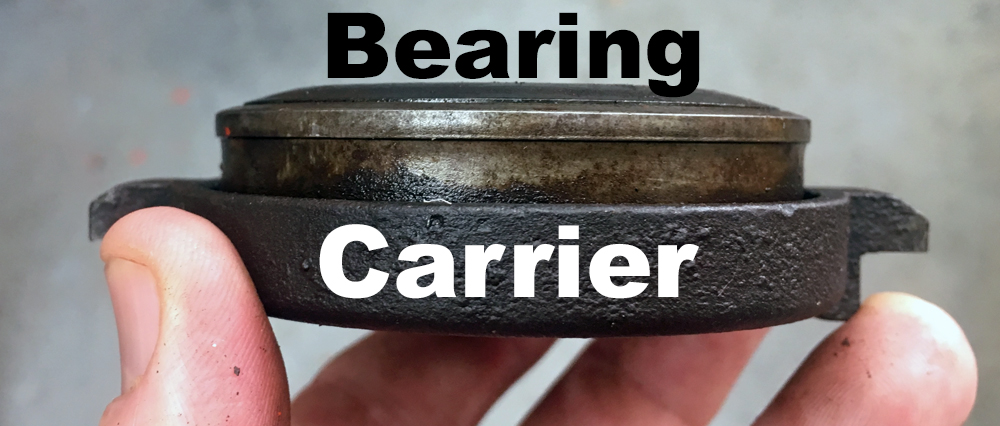
It’s not readily apparent that you have a two-piece assembly because they are pressed together, but you should separate the two parts if you need to give your bearing a thorough cleaning and lubrication.
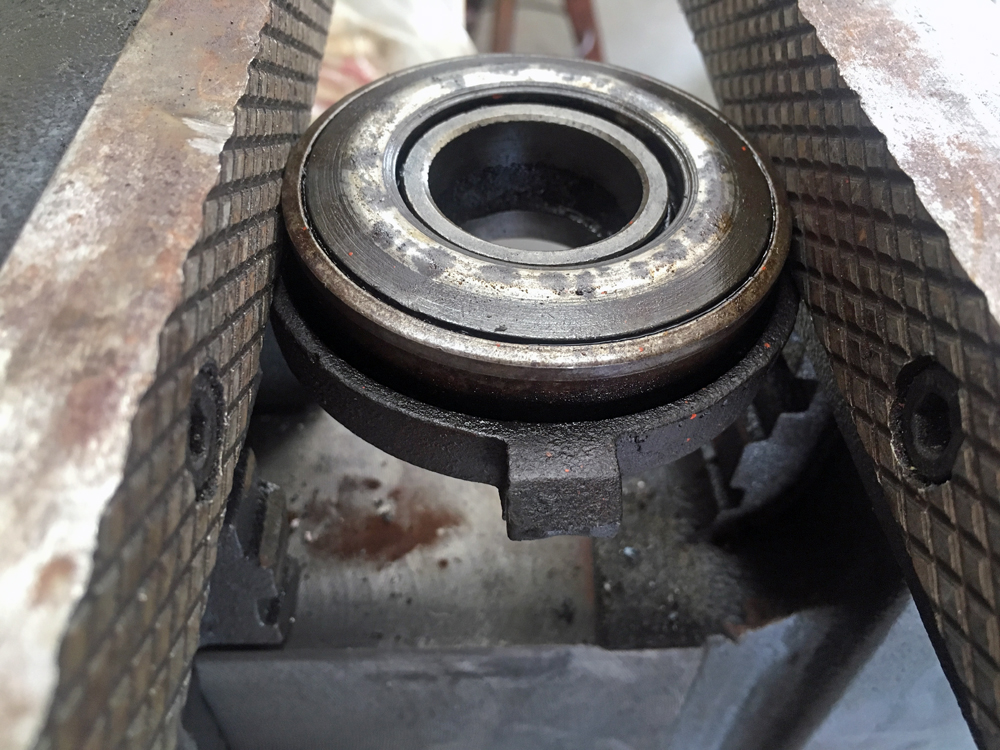
Here’s one I pulled out of a tractor and added to my parts stash. For disassembly, you can use a bearing puller to grip the bearing under that lip near the top.
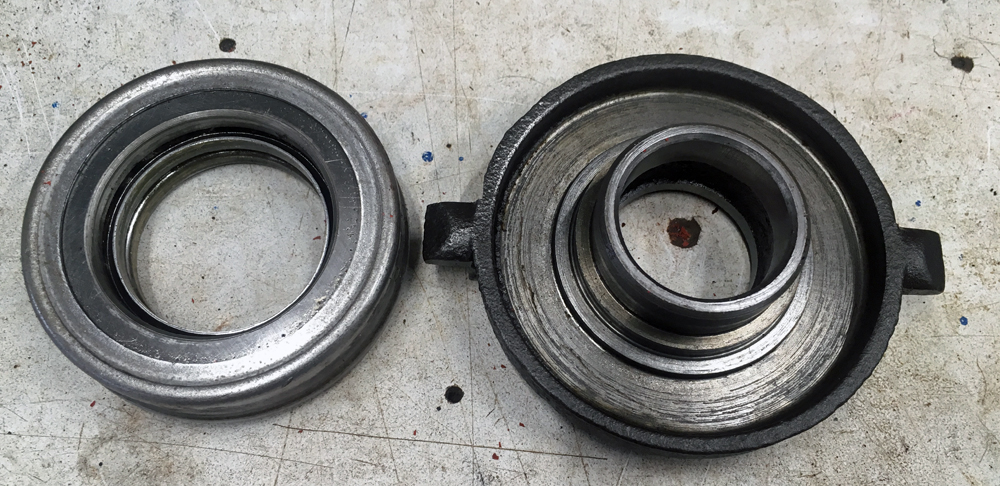
Then I lightly tapped on the inside portion of the carrier, which is that middle ring my hammer is touching in this picture. This allowed me to drive the carrier out of the bearing.
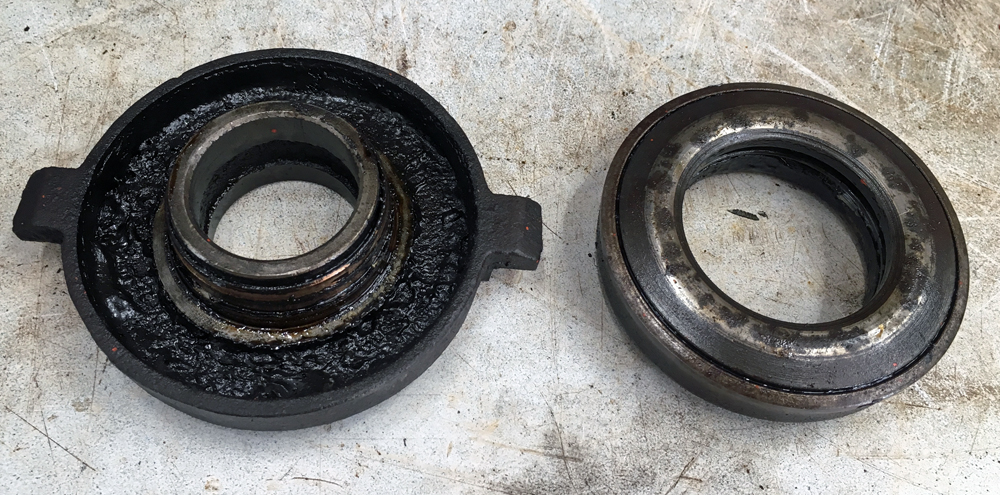
I like to keep using anything that’s still usable, and I hate to waste anything. For this reason, I will soak these parts in kerosene/diesel fuel to dissolve all the old crud, thoroughly rinse with same, then lubricate the bearing with bearing grease by forcing it into the bearing.
This is assuming the carrier is not overly worn where the clutch fork rides against it, and the bearing is in good shape mechanically & spins freely under pressure when it’s clean.
To reassemble, press the two parts together carefully, making sure they are square with one another. A bench vise makes a reasonable “press” for doing this.
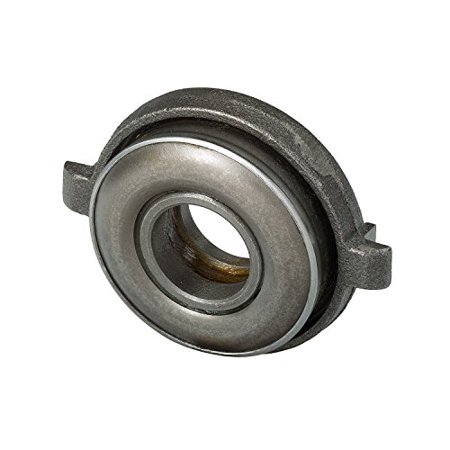
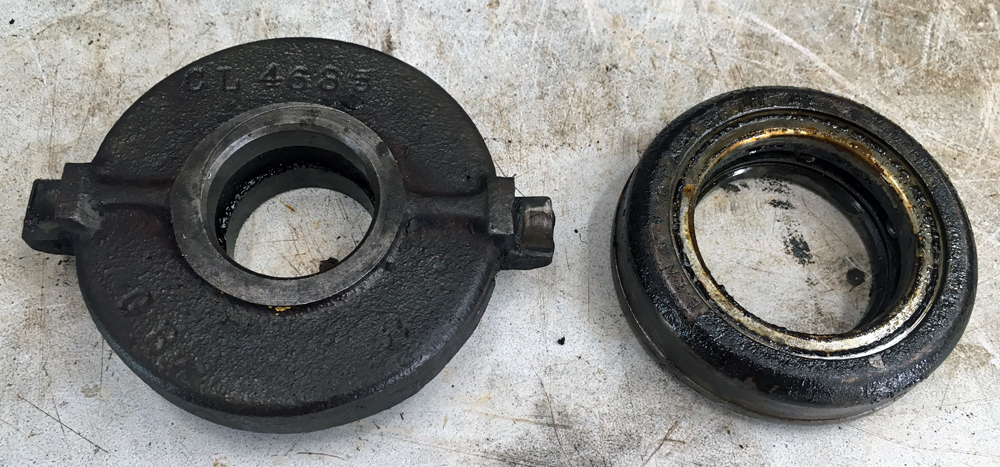
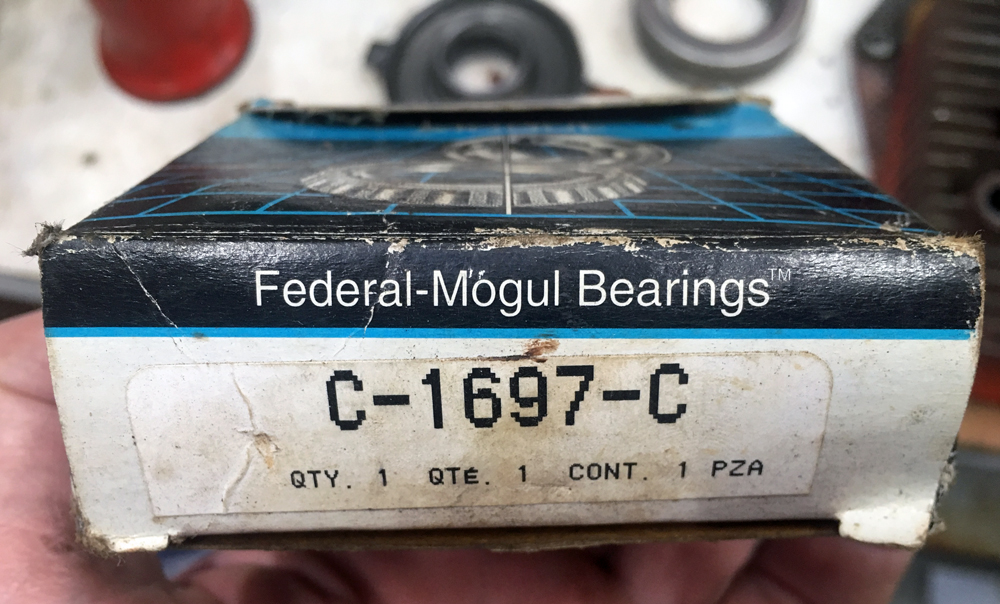
If you wish to replace instead of reusing or if your bearing is beyond repair, you can buy a new one. The part number is Federal-Mogul C-1697-C, and this gets you the bearing and carrier. Just be careful while shopping; some throwout bearings listed under this number are quite different. Make sure it looks like those pictured here.
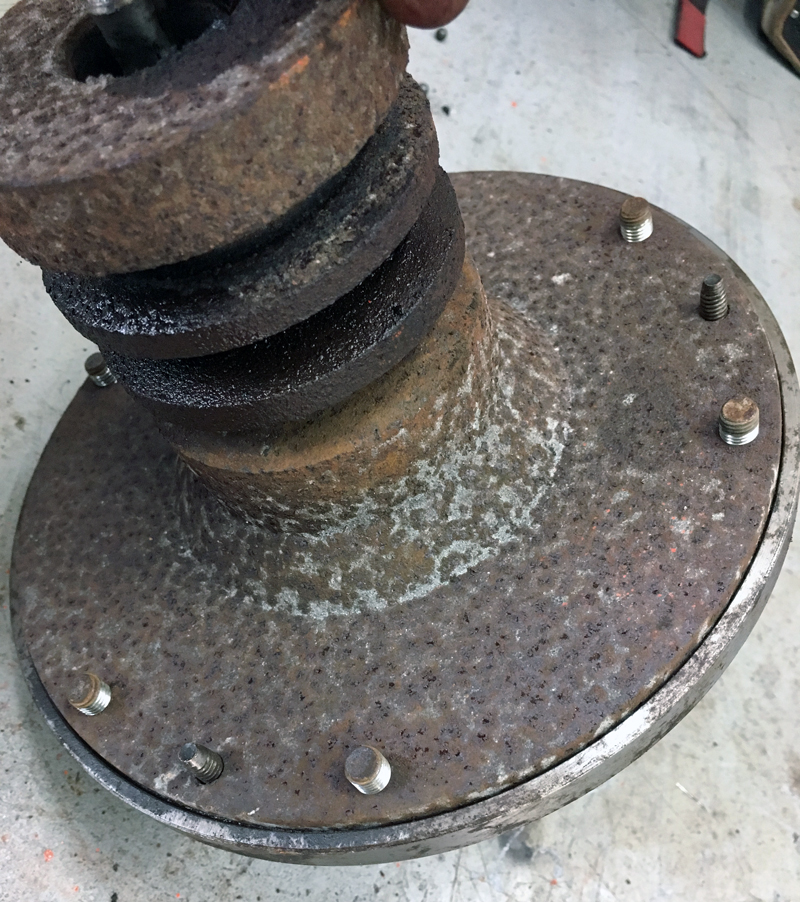
If you need to pull your tractor’s engine apart to work on it, you will probably want to remove the clutch flywheel from the rear end of the crankshaft. There are several ways to do this, but the first thing you need to know is this: DO NOT USE A JAW PULLER ON THE CLUTCH FLYWHEEL. The flywheel WILL break.
Usually, the clutch flywheel will be stubborn and won’t want to come off. The second clutch flywheel I ever removed was my first stubborn one. I learned that this is the rule rather than the exception…. they are usually stuck on there good.
First Step
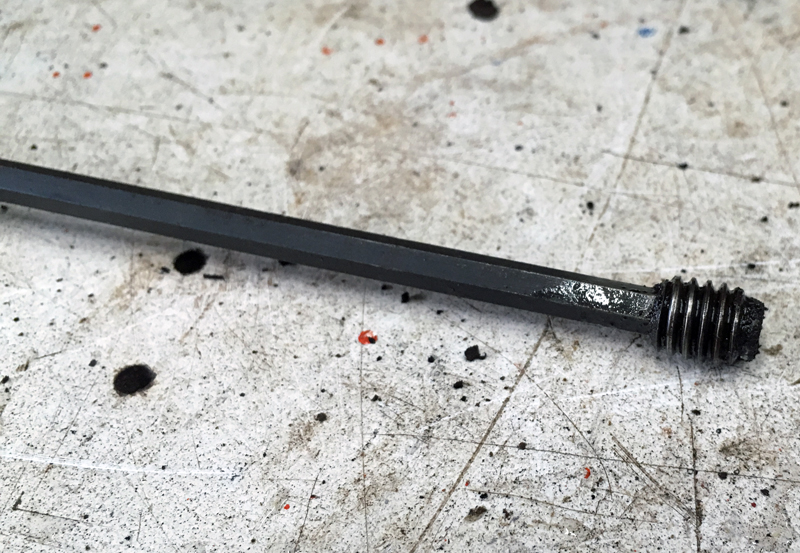
Remove the set screws securing the flywheel to the crankshaft. Don’t just loosen them; remove them entirely. There are two threaded holes, and sometimes each hole will have two set screws, one on top of the other. Make sure all the screws are out of there, and squirt some penetrating oil into the holes.
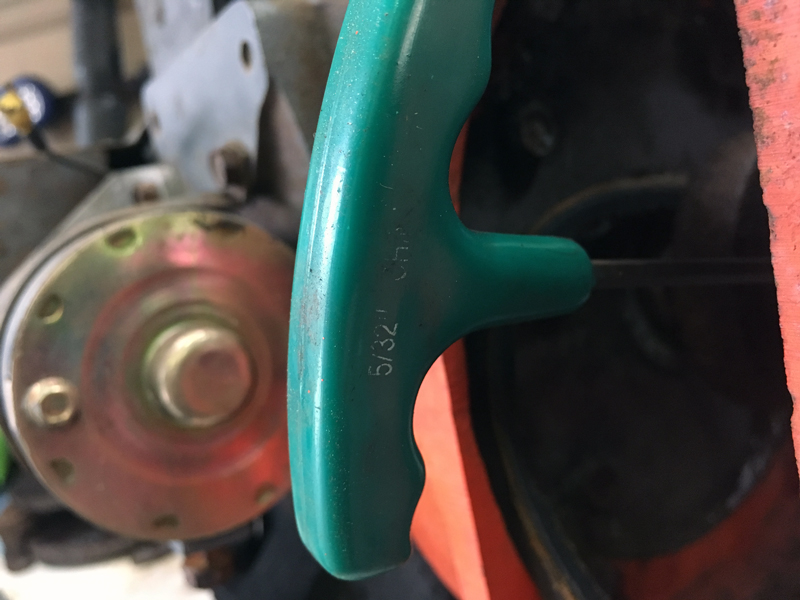
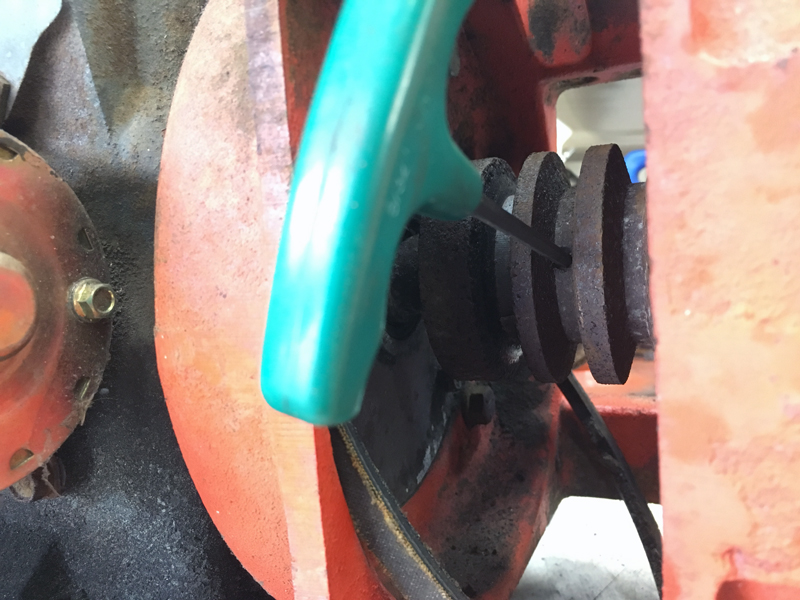
Use a 5/32″ allen wrench to remove the set screws. Make sure the hex-shaped hole is nice and clean before inserting the hex wrench. A small-bladed screwdriver is handy for that.
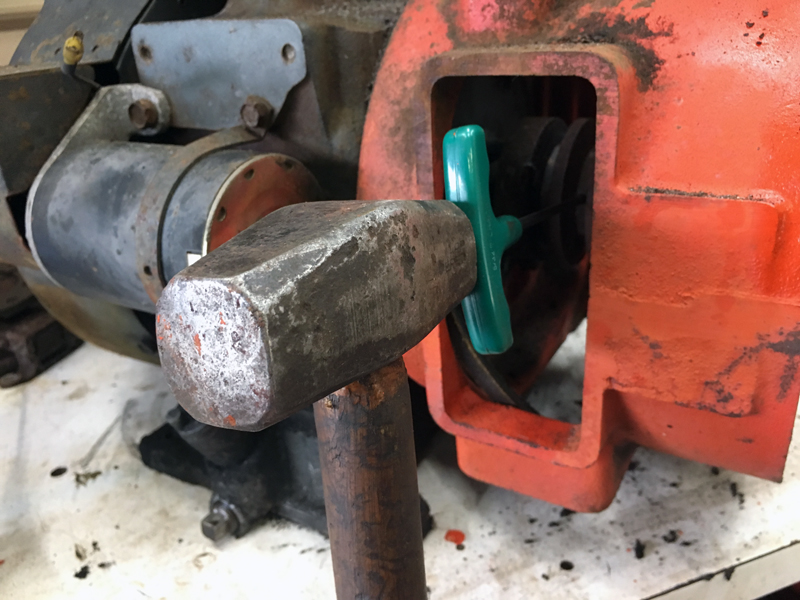
I like to tap the wrench in lightly with a hammer to ensure it goes all the way into the hole. This greatly reduces the chance of stripping the hex hole in the set screw, which would be tragic.
Remove the screws entirely, so you can check for a second set screw below the first and get some penetrating oil onto the crankshaft through the screw hole.
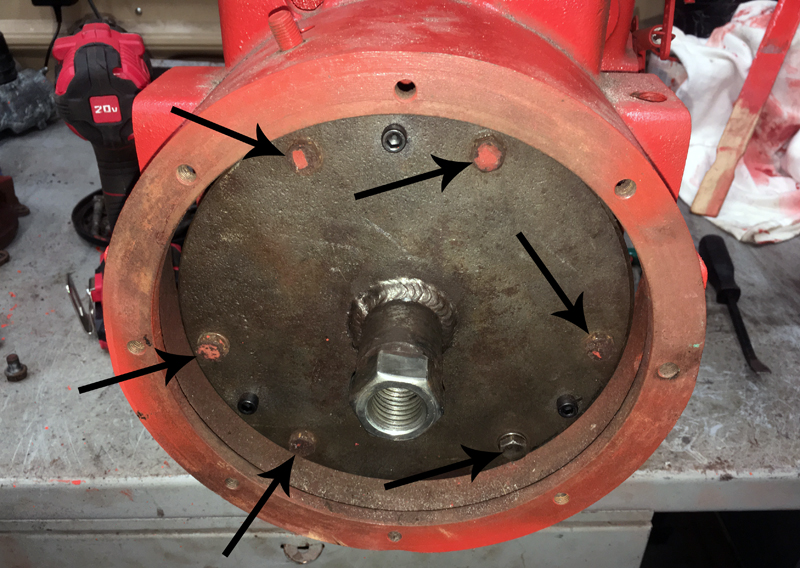
I used a method that was suggested by a fellow PKer, and since that was back in 2004 I have no clue who it was. It’s a simple — but tedious — process. First, you remove the 4 bolts holding the clutch flywheel housing to the engine, and get that housing free so you can get to the area between flywheel and engine.
Remove the set screws securing the flywheel to the crankshaft. Don’t just loosen them; remove them entirely. There are two threaded holes, and sometimes each hole will have two set screws, one on top of the other. Make sure all the screws are out of there, and squirt some penetrating oil into the holes.
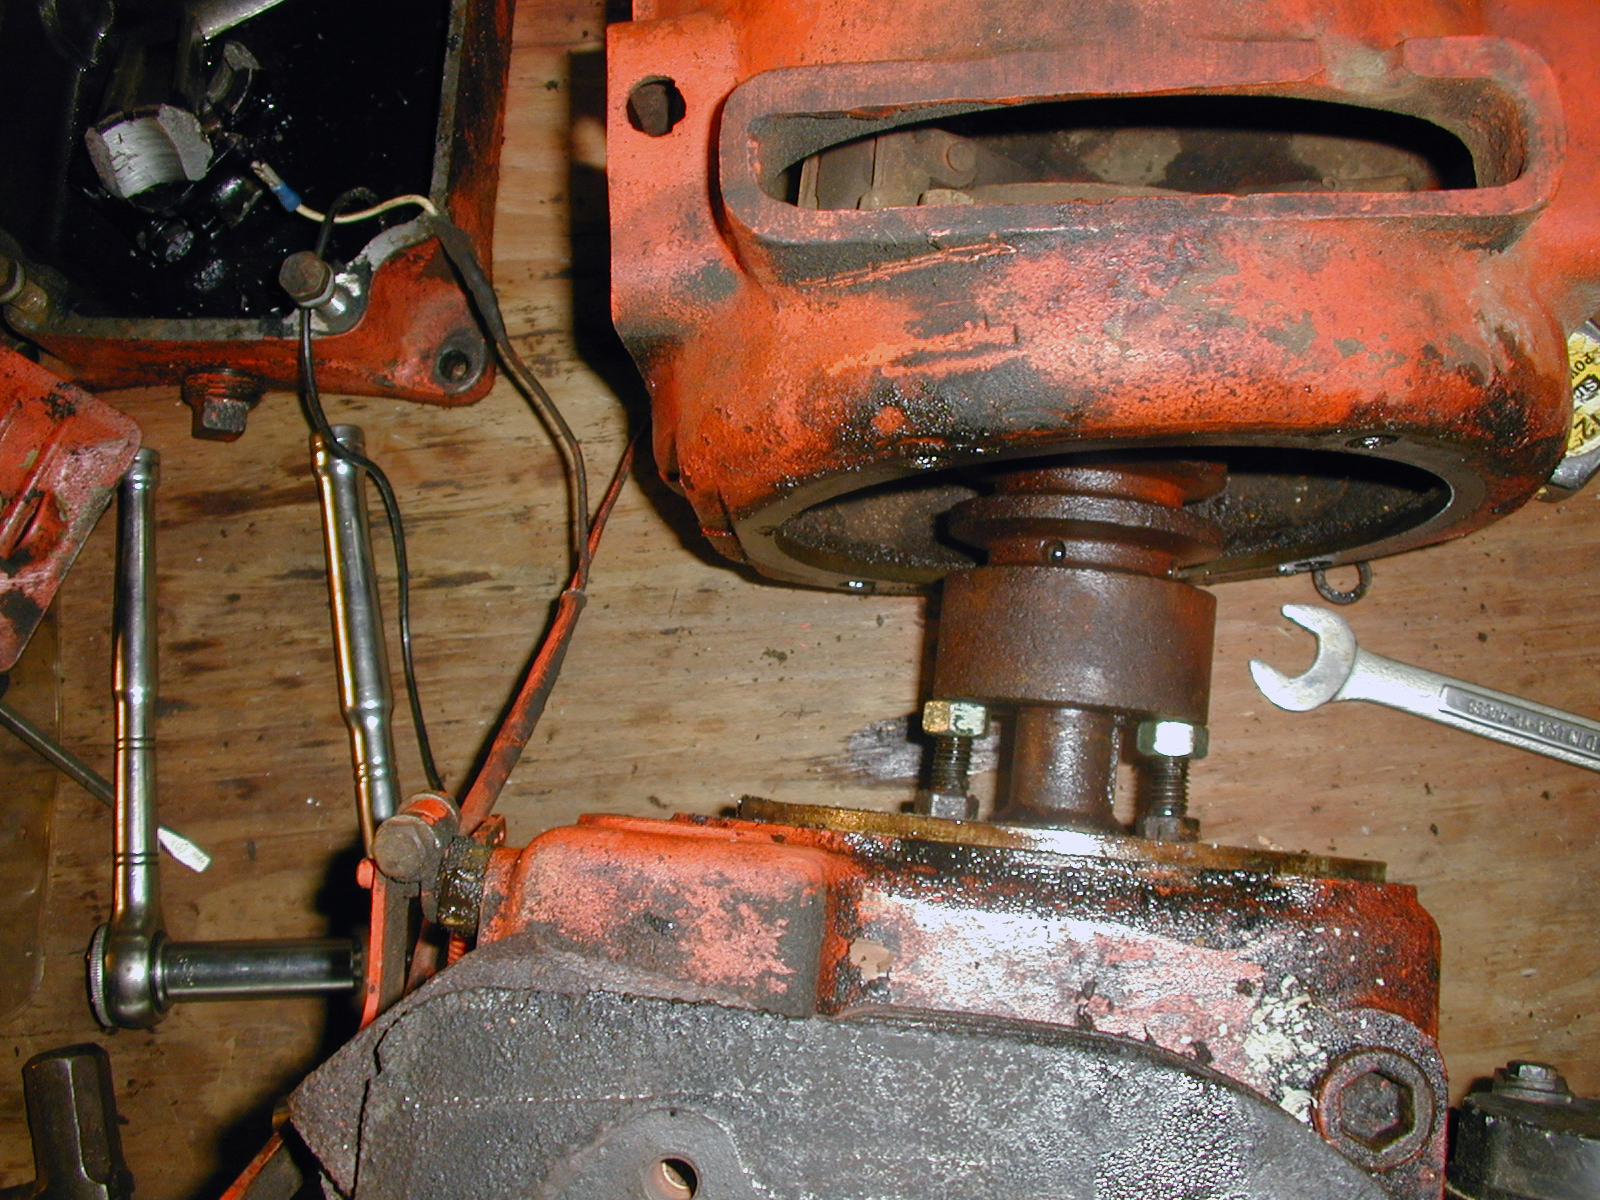
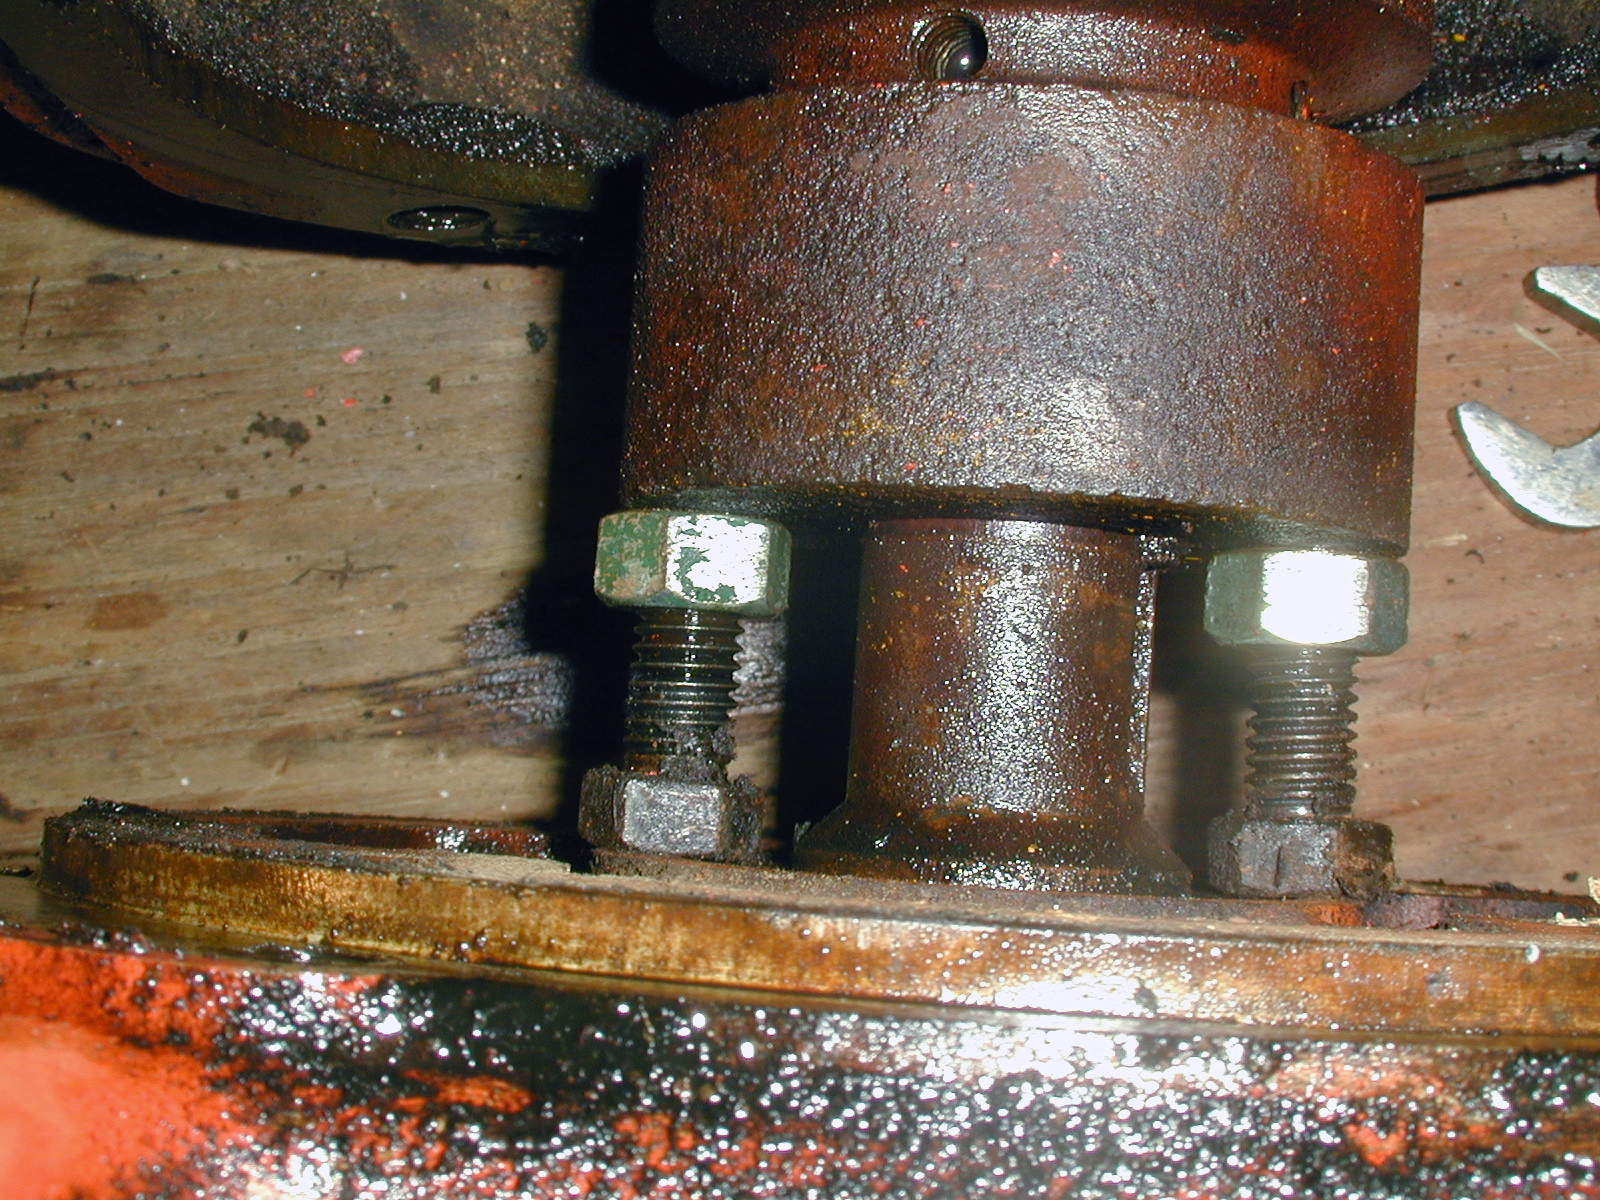
Find a pair of bolts & nuts that will fit between the flywheel and engine. In my case it was a 1969 Jim Dandy with a Kohler K301 engine, but that’s not important. The bolts will act as screw jacks, which will place considerable pressure on your engine block. It may be wise to place some steel flat bar between the bolt heads and the engine. I did this at a later stage.
Simply use two wrenches and screw the nuts off of the bolts a little at a time, alternating between them to keep things even. You will run out of bolt before you’re done… that’s when you find longer bolts or use more/thicker spacers between bolts & engine. In the photo above, you can see that the flywheel has already moved away from the engine a little bit.
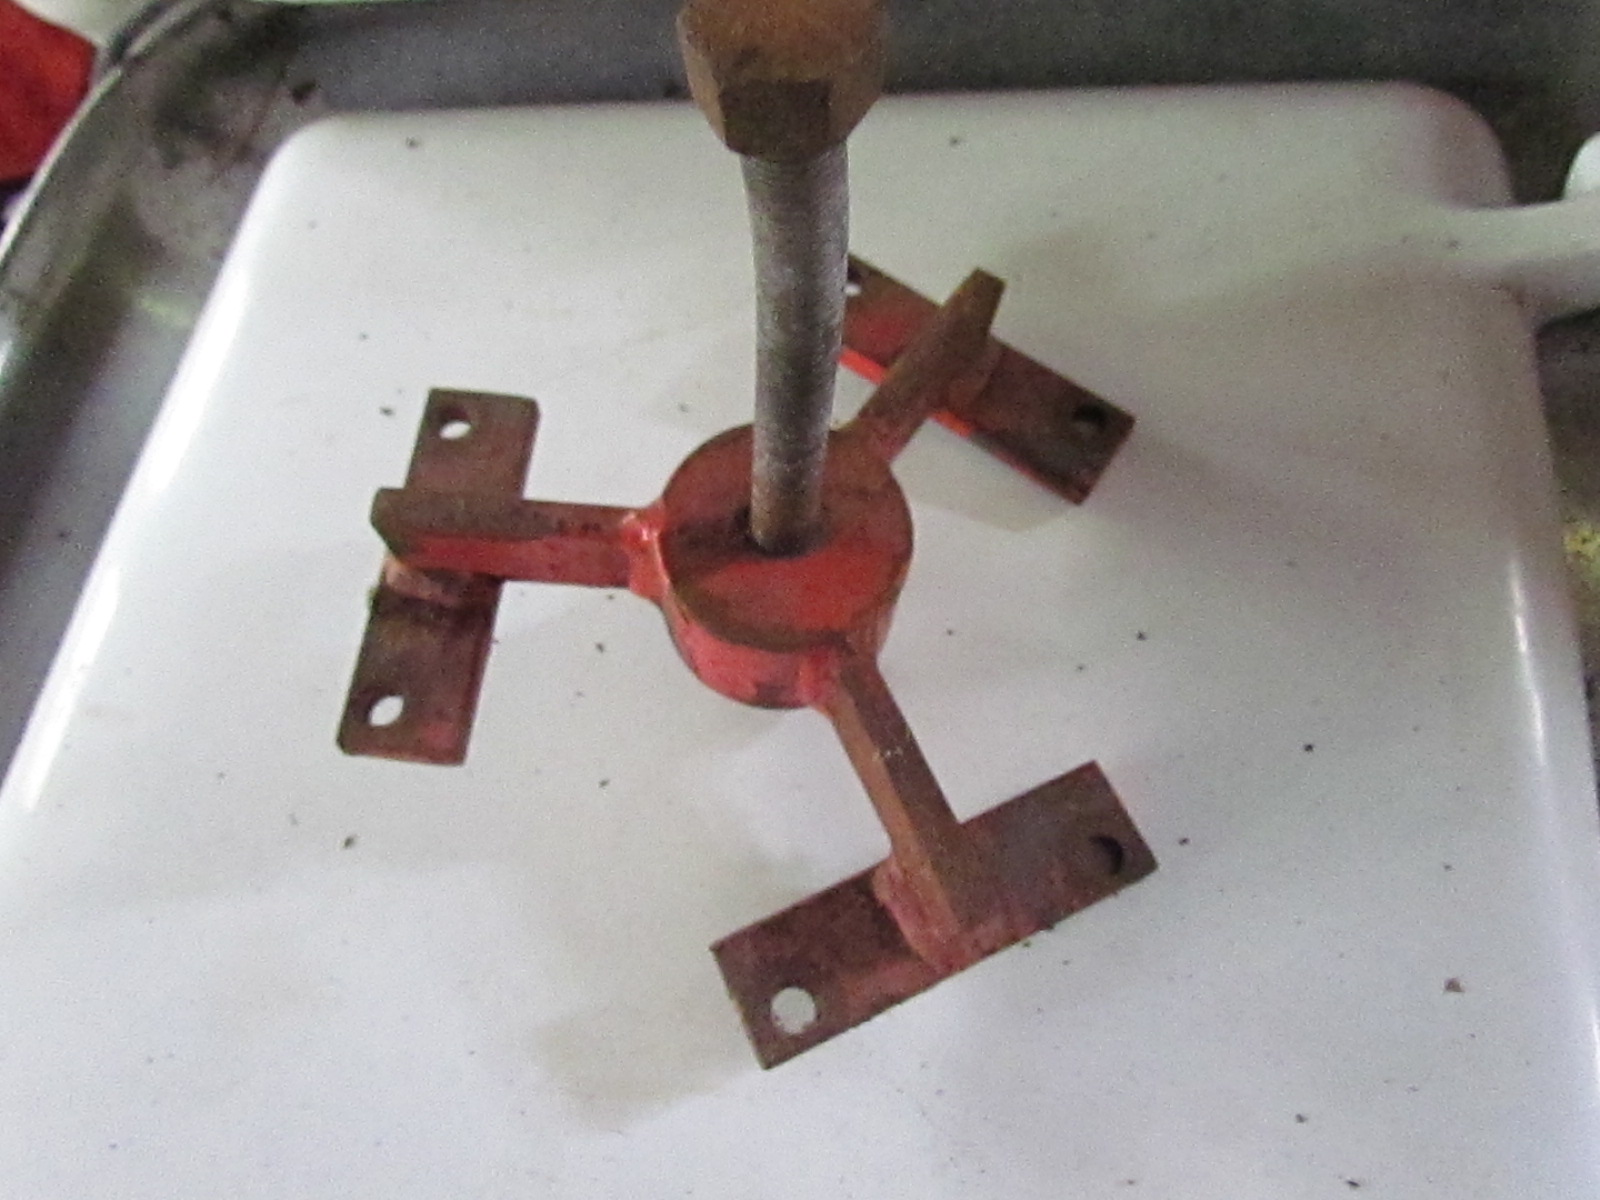
Fancy Custom Puller
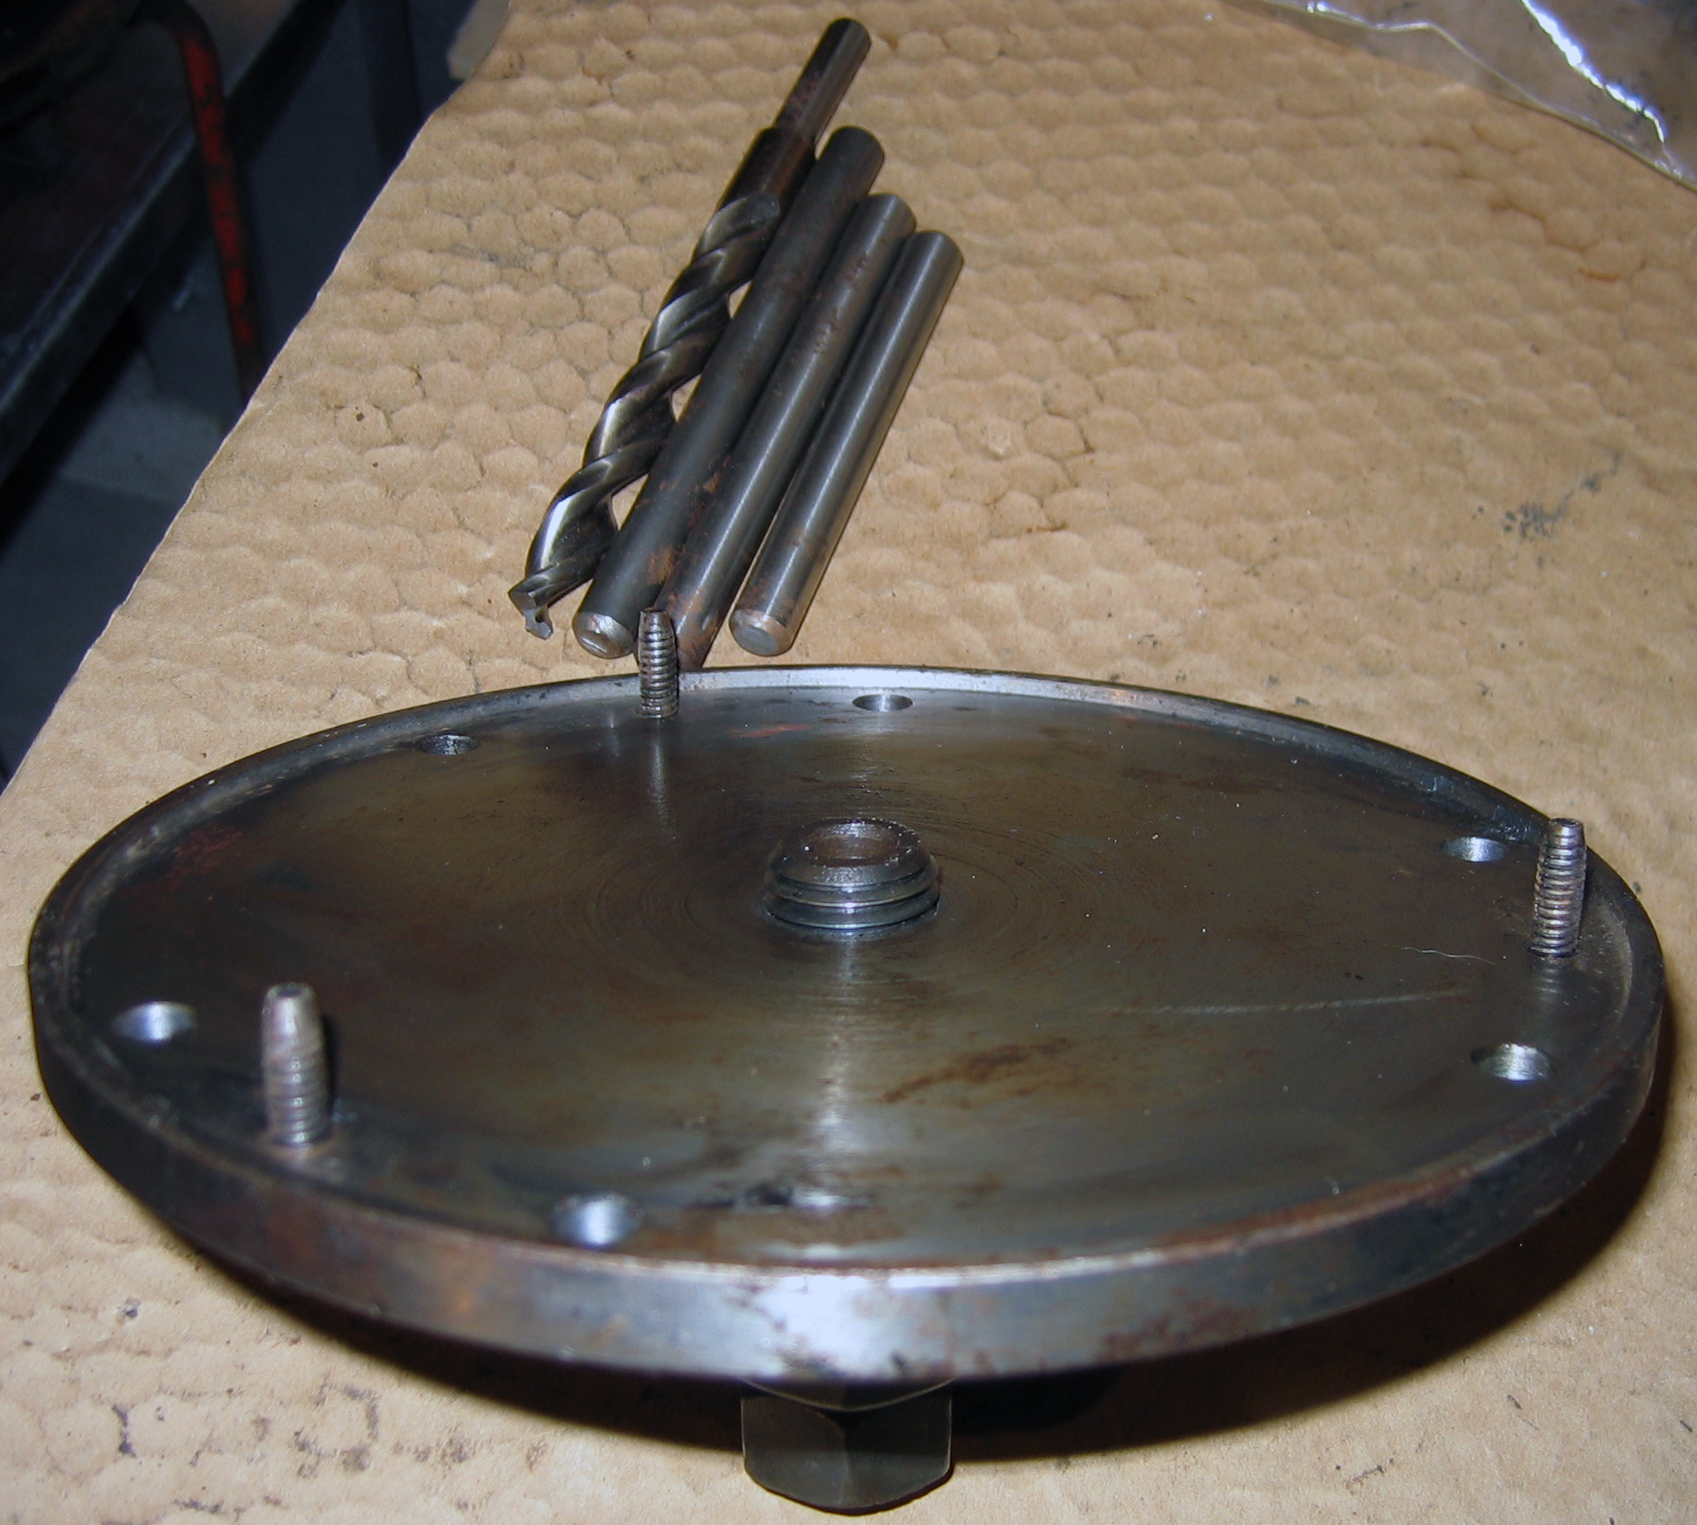
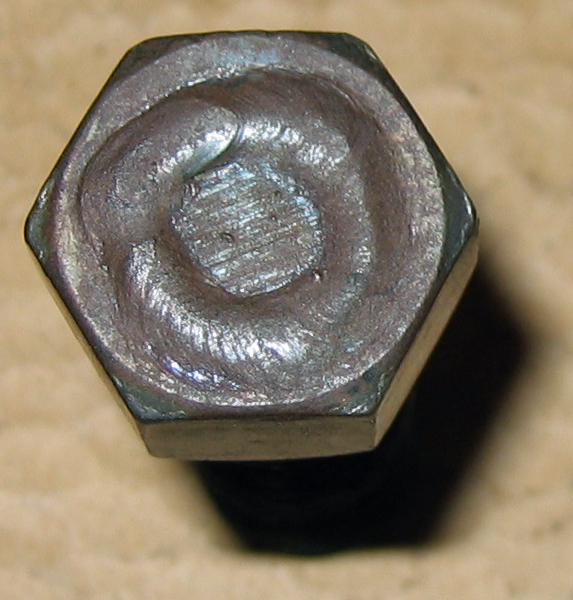
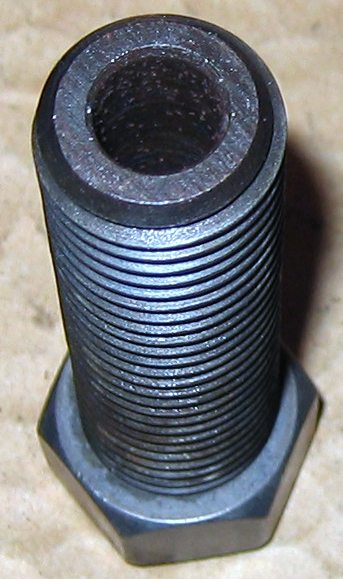
Once I started working on PKs regularly, I decided to spring for a sure-nuff flywheel puller. I bought this custom puller made for and sold by the late Jerry Frank of Texas (USSUPPLY).
You remove the clutch fingers, pressure plate, and clutch disk, and bolt this to the flywheel using the six threaded holes in the flywheel normally used for attaching the clutch assembly.
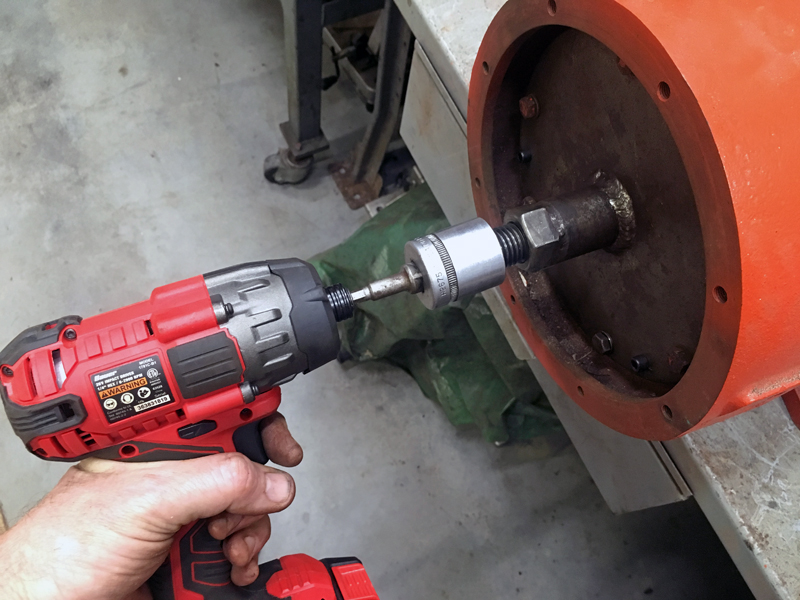
Then you use the threaded center puller bolt with various lengths of round rod inserts. I place a socket on the hex nut and tighten it with an impact gun, and the flywheel usually comes right off.
Be careful not to let the flywheel get away from you, because it’s heavy. Once it comes free of the crankshaft, it’s gonna want to succumb to gravity’s pull.
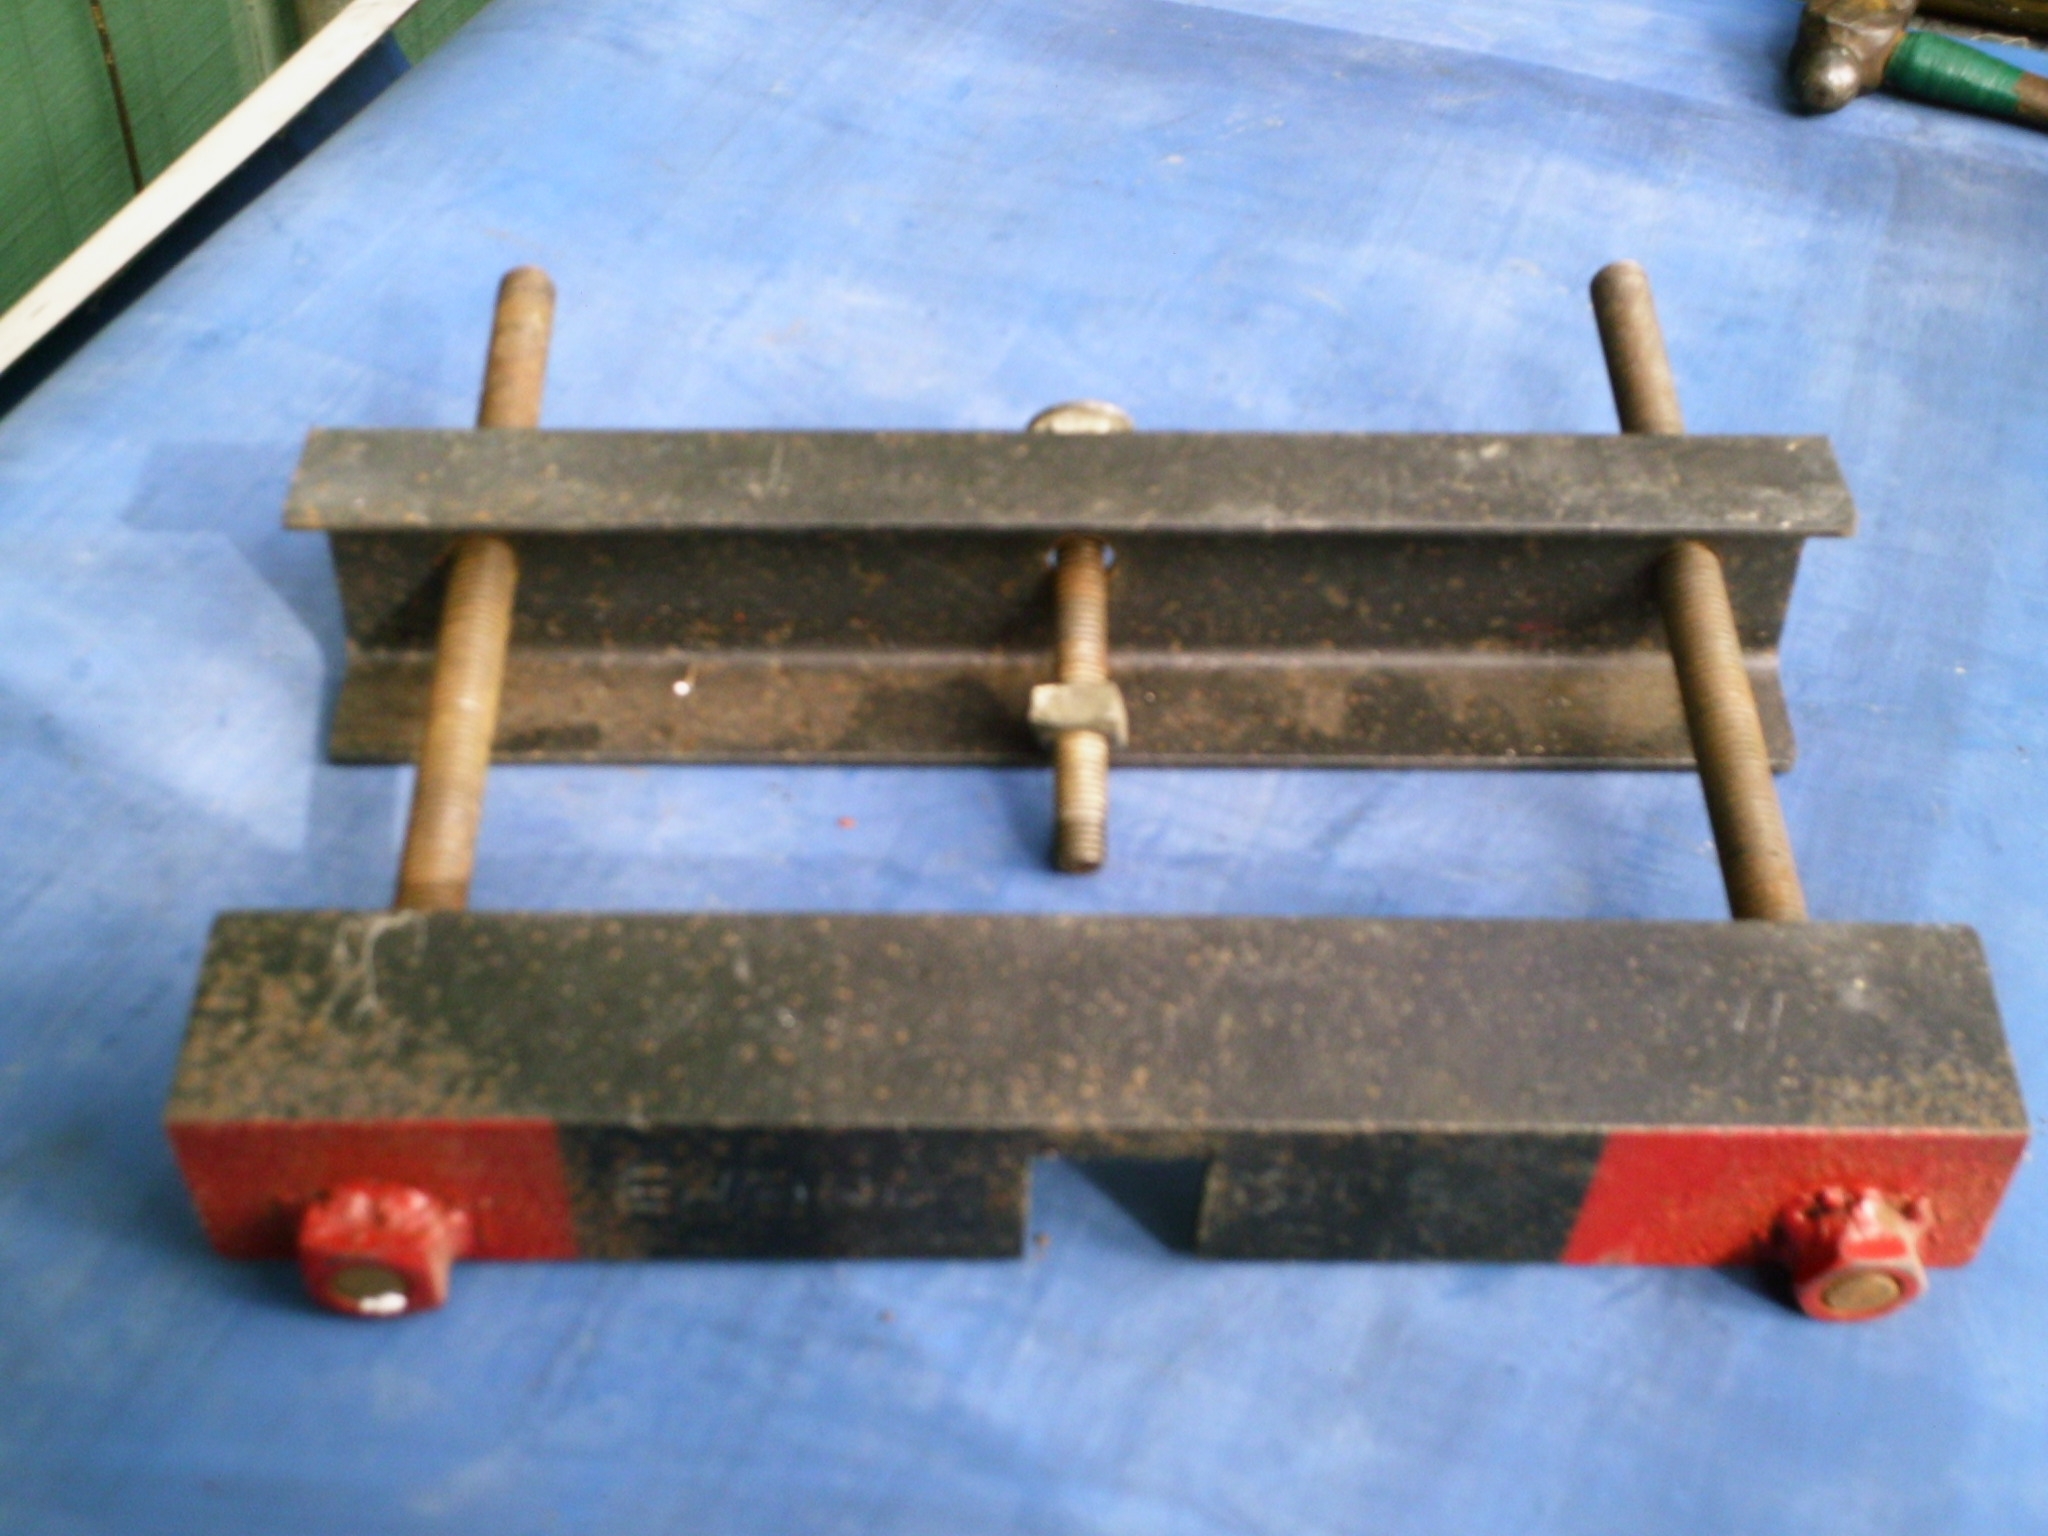
After I bought that expensive puller, I learned about this homemade puller that was made by a fellow PKer.
Simple homemade EPCO clutch flywheel puller
Simple homemade EPCO clutch flywheel puller
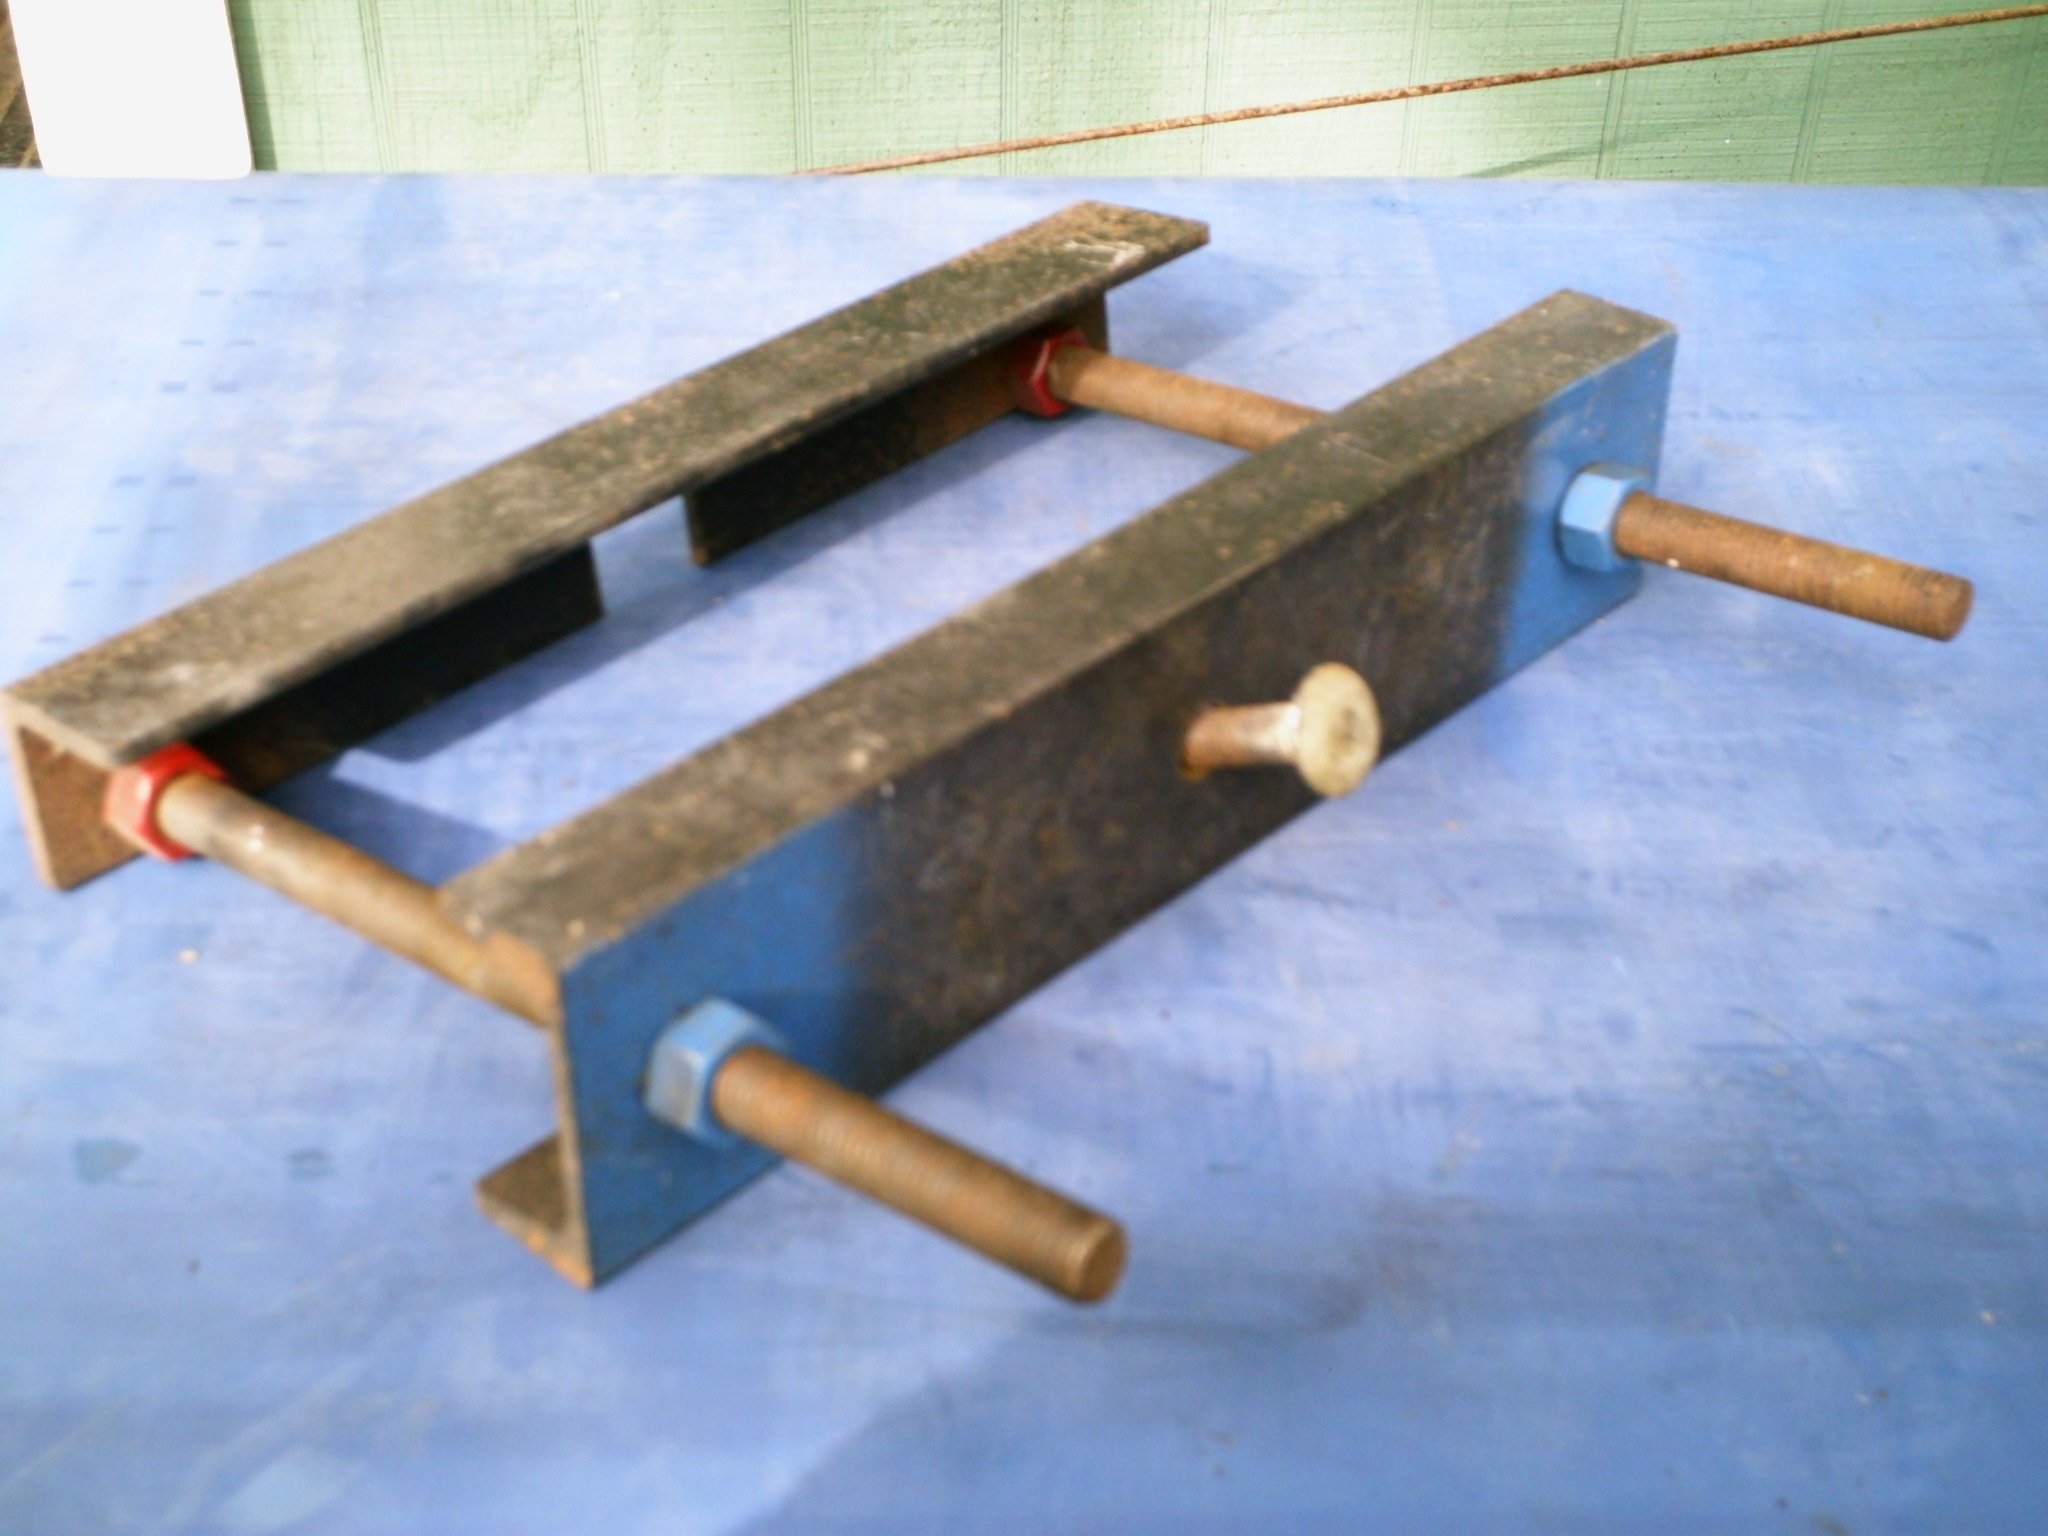
Official EPCO Puller
I’m told this puller was an “official” tool from EPCO — or as official as they ever got.
“Official” EPCO clutch flywheel puller
Like my puller, it attaches to the threaded holes for the clutch.
Drill & Tap for a Bolt-Type Puller
Some folks have been known to drill & tap new holes in the “meaty” central portion of a clutch flywheel so they can use a bolt-type puller (like you’d use to pull a Kohler engine flywheel).
In Closing
These are certainly not the only methods that will work, but hopefully they will give you some ideas.
I hope you found this helpful! Feel free to comment below.